
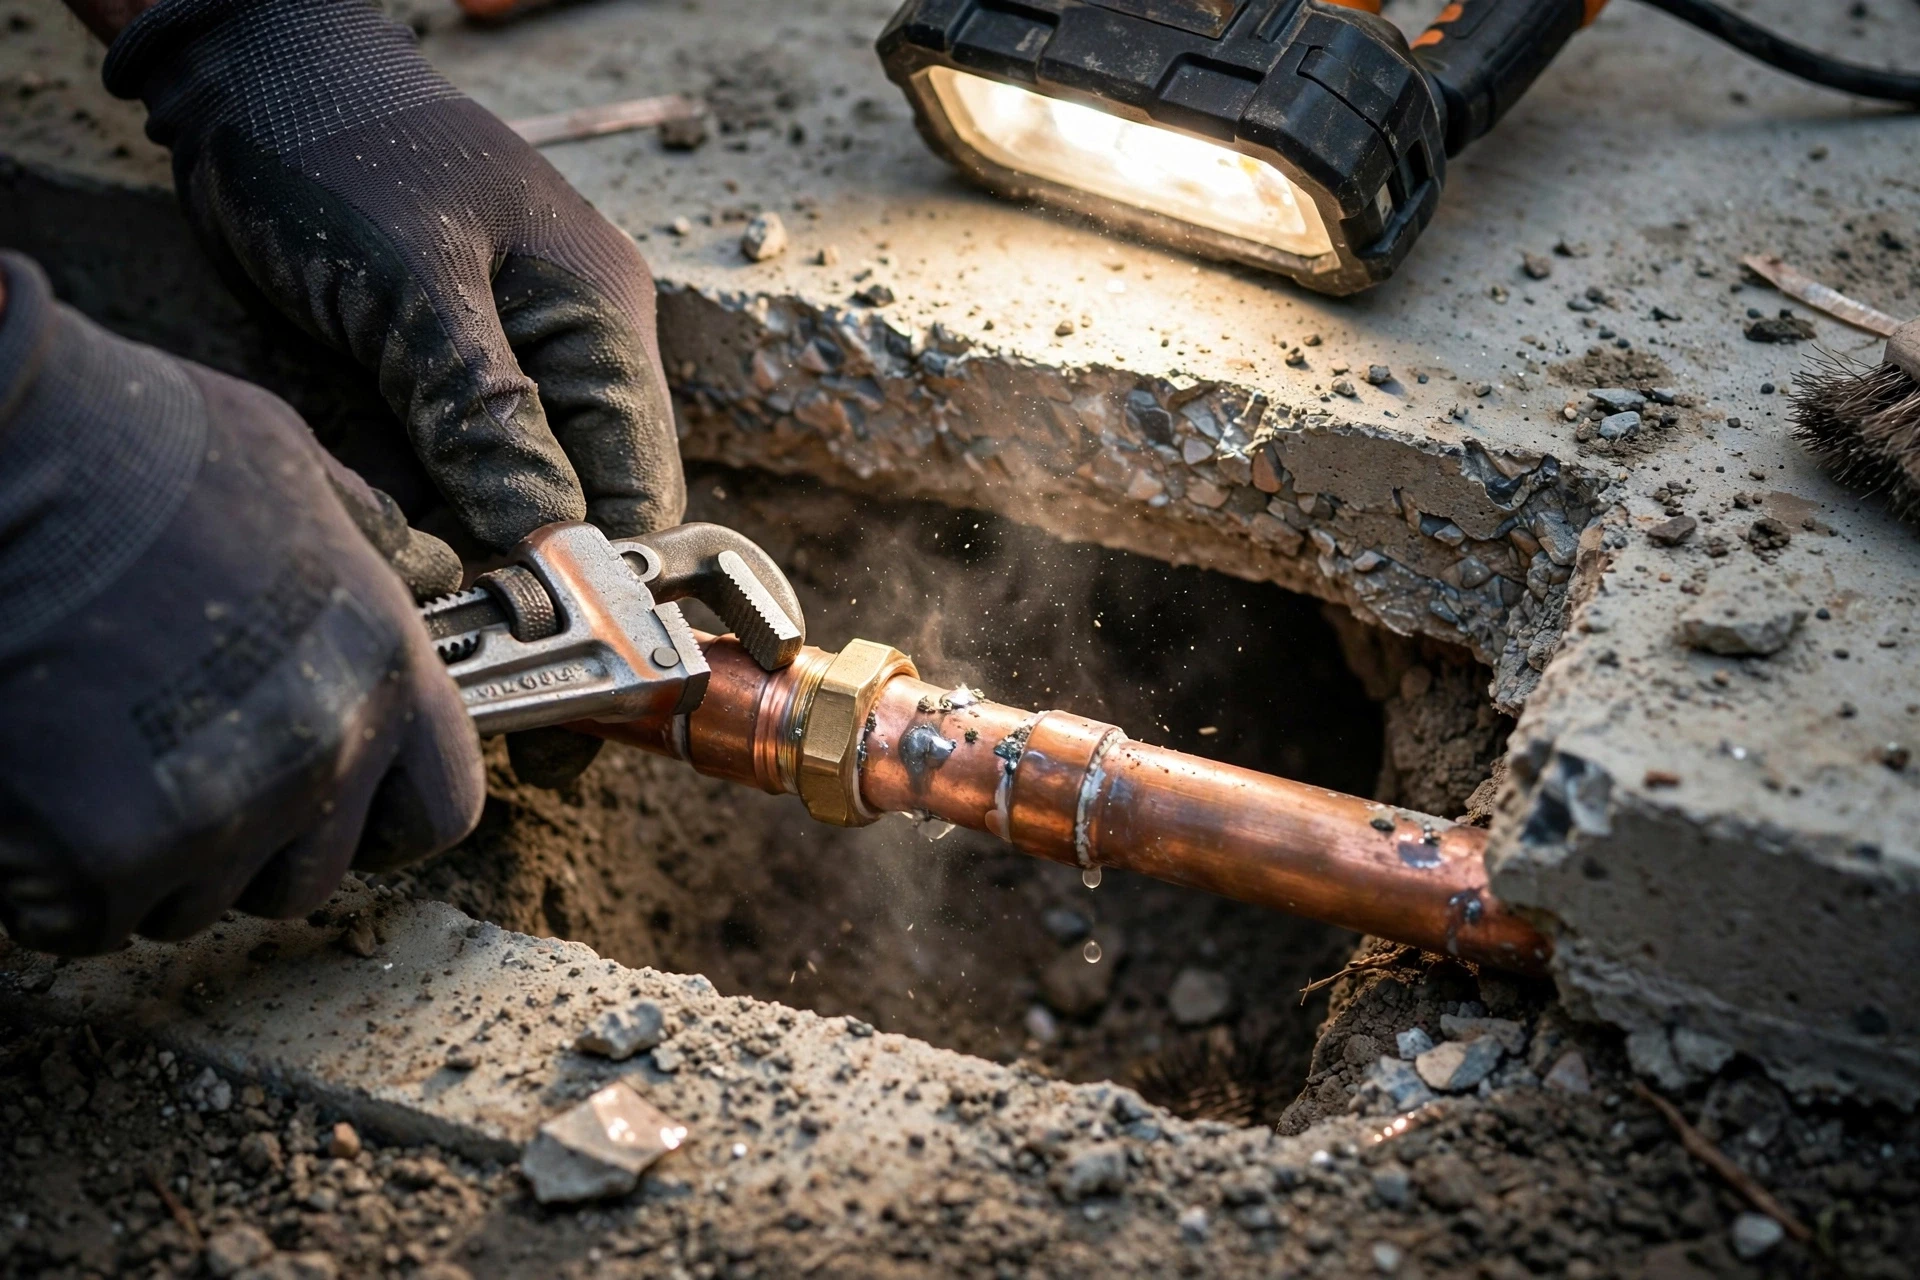
What is slab leak repair?
Slab leak repair is the work of fixing a failed water pipe located beneath a home's concrete foundation — after electronic detection has pinpointed exactly where the failure is. It is not one single procedure but a family of methods, and choosing among them is the most consequential decision in the whole job. The right method restores a sound, watertight pipe with the least disruption to your home; the wrong one buys you a repeat visit in a year or two.
Every legitimate repair follows the same logic: stop the water loss, replace or bypass the compromised pipe, and leave the structure as close to found condition as possible. What differs is how the technician reaches the pipe and how much pipe gets replaced — a spectrum that runs from opening a small square of concrete to replacing the home's entire water system. When you call RPV SlabSure Leak Repair, you're connected with local pros who walk you through these options against your pipe's actual condition instead of defaulting to the most expensive one.
How slab leak repair works: the five methods
There is no universal "best" repair — only the best repair for your leak, your pipe, and your floor. Here is how professionals think through the options.
Spot repair through the slab
The technician opens the concrete directly above the marked leak point, cuts out the damaged pipe section, splices in new pipe, then backfills and patches the concrete. This is the right call for a single, isolated leak in pipe that is otherwise healthy — fast, targeted, and the least disruptive of the invasive options.
Tunneling under the slab
Instead of breaking interior flooring, the crew hand-digs a tunnel from outside the home to reach the pipe from below. It preserves expensive tile or hardwood, which makes it attractive when the leak sits beneath high-end finishes — though it involves more labor than a direct opening.
Pipe rerouting through walls and attic
The failed under-slab line is abandoned in place and a brand-new PEX or copper line is run overhead — through walls, the attic, or along the exterior — to serve the same fixtures. This is the standard long-term answer across Southern California: no slab opening at all, and the new line is fully accessible for any future work.
Epoxy pipe lining
A trenchless option in which an epoxy coating is applied inside the existing pipe, sealing pinholes and corrosion from within. It suits pipes that are structurally intact but leaking at isolated points, and it leaves floors completely untouched.
Whole-house repiping
When leaks recur, the honest diagnosis is systemic failure: the rest of the pipe is in the same condition as the section that burst. Repiping replaces the entire system — usually with PEX — ending the cycle of repeat slab openings. Our repiping guide covers when this becomes the economical choice.
8 warning signs you need slab leak repair
Bill climbing month after month
Steady increases with no change in habits point to water leaving the system underground.
Phantom water sounds
Hissing or rushing behind walls and floors with all fixtures off is pressurized water escaping.
Hot patches on the floor
A leaking hot-water line transfers heat straight into the concrete above it.
Persistent dampness
Carpet that never fully dries or tile grout that stays dark signals moisture pushing upward.
Pressure loss at fixtures
A leak bleeds pressure system-wide, so showers and faucets weaken together.
Cracking finishes
Water eroding soil beneath the slab lets it settle, cracking tile and baseboards above.
Musty, mildew odors
Trapped moisture under flooring breeds mold long before you see staining.
Water heater cycling constantly
A hot-side leak makes the heater work overtime replacing lost hot water.
Why slab leaks happen in Rancho Palos Verdes
Understanding the cause matters because it determines the fix. A leak from a one-off installation defect wants a spot repair; a leak from system-wide corrosion wants a repipe. Across the Peninsula, these are the culprits technicians see most.
External copper corrosion. Copper lines embedded directly in concrete face decades of contact with alkaline concrete and damp soil — especially near the coast, where moisture is constant. The pipe wall thins from the outside until a pinhole opens. This is the classic RPV slab leak, and it tends to repeat: pipe from the same era, in the same soil, fails on a similar timeline.
Water chemistry from within. Mineral-heavy water and disinfectants attack copper from the inside, pitting the wall until it perforates. Homes can suffer both internal and external corrosion at once, which is why a single visible leak often means the system is broadly compromised.
Soil movement. Hillside and bluff lots shift subtly with wet winters and dry summers. Rigid copper doesn't flex — it stresses at joints and bends until something gives. Even small, repeated movement fatigues connections over the years.
Age and pressure. Every year of service is a year of thermal expansion cycles and water hammer. Chronically high water pressure accelerates the wear, turning a fifty-year pipe into a thirty-year pipe. Abrasion where pipes pass through concrete penetrations without proper sleeving adds localized weak points.
Safe DIY checks to confirm your suspicion
You can't fix a slab leak yourself, but you can confirm one — and that confirmation makes your service call far more productive.
- The meter test. Turn off every fixture and water-using appliance, then watch your water meter for 15–30 minutes. A moving meter with zero usage means water is leaving the system somewhere.
- The night listen. Late at night, when the house is silent, press your ear to walls near bathrooms and the water heater. A faint hiss localizes the search.
- Bill archaeology. Pull twelve months of water bills. A gradual upward creep — not a seasonal jump — is the fingerprint of a slow leak.
- Find your shutoff. Locate the main valve now, before an emergency. If you can't find it or it won't turn, that's worth mentioning on the call.
Homeowners sometimes open flooring or concrete "to help." Without electronic locating, the odds of hitting the actual leak are poor — and exploratory demolition only adds to the restoration scope. Mark the symptoms, not the slab.
The professional repair visit, step by step
A well-run slab leak job follows a predictable sequence. Knowing it helps you judge whether you're dealing with a professional outfit.
-
01
Confirm the diagnosis
The technician re-verifies the leak location with their own equipment and rules out lookalikes like drain-line issues or condensation.
-
02
Present the options
You hear every viable method — spot repair, reroute, lining, repipe — with straight talk about which fits your pipe's condition and why.
-
03
Protect the work area
Flooring is covered, dust barriers go up, and the access point is marked precisely before any concrete is touched.
-
04
Execute the repair
The pipe is exposed, the failed section replaced or bypassed, and the system is pressure-tested before anything is closed up.
-
05
Patch and walk through
Concrete is backfilled and patched, the area cleaned, and you walk the work together — ask about warranties before they leave.
What shapes the cost of your repair
Reputable contractors quote after detection, not before — because these variables change the scope dramatically. Our cost guide goes deeper into each one.
| Factor | How it affects scope |
|---|---|
| Chosen method | Spot repair vs. tunneling vs. reroute vs. repipe — the single biggest scope driver. |
| Access difficulty | Leak depth, flooring type above it, and working clearance around the access point. |
| Pipe condition | Isolated pinhole vs. system-wide corrosion — determines repair vs. replace strategy. |
| Leak count | Multiple active leaks usually push the economics toward rerouting or repiping. |
| Restoration scope | Rough concrete patching is standard; finished flooring restoration is separate. |
| Permits | Repipes and reroutes typically require permits and inspection in RPV. |
When slab leak repair becomes an emergency
Not every slab leak needs a 2 a.m. crew — but some do. Treat it as urgent when water is actively spreading across floors, you hear continuous running water with everything off, the water heater can't keep up, or dampness is visibly expanding hour by hour. In those cases, shut the main valve first, then call. Our emergency page covers exactly what to do in the first ten minutes.
If spreading water reaches outlets, appliances, or your electrical panel area, don't wade in — shut power to the affected area at the breaker if you can do so safely from dry ground, and keep everyone clear until help arrives.
Slab leak repair FAQs
Will slab leak repair tear up my whole floor?
No. A spot repair opens only a small section of slab directly above the pinpointed leak — typically a few square feet. Rerouting and epoxy lining avoid opening the interior floor entirely.
How long does a typical slab leak repair take?
Most spot repairs finish in a single day once the leak is located. Reroutes generally take one to two days, and whole-house repipes are commonly completed in one to two days depending on the home's size and layout.
Should I repair the leak or repipe the house?
A single isolated leak in otherwise sound pipe is a good candidate for spot repair. With aging copper and a history of leaks, repiping or rerouting usually costs less over time than repeated individual repairs — our repiping guide explains the tradeoff.
Is the concrete patched after the repair?
Yes — backfilling and rough concrete patching are a standard part of the job. Restoring finished flooring like tile or hardwood is a separate scope, so discuss it with your contractor before work begins.
Can a slab leak be fixed without breaking concrete?
Sometimes. Rerouting runs new pipe through walls and the attic, bypassing the slab completely, and epoxy lining seals the pipe from the inside. Both are worth discussing when you want to avoid interior demolition.
What should I do while waiting for the repair crew?
If water is actively spreading, shut off the main valve, move rugs and valuables away from damp areas, and avoid fixtures on the leaking line. Then call — lines are answered around the clock at (310) 555-0100.